Most people treat posture and muscle recovery as two separate projects. They buy a brace for the desk, then buy a roller or a massage gun for the gym, and never connect the two. They are the same problem wearing two different outfits. A body that sits folded forward for nine hours develops tight chest and hip tissue, a lazy upper back, and a low back that complains by Thursday. You cannot release your way out of that with a gun alone, and you cannot brace your way out of it either.
The routine below is the one I hand to patients who work desk jobs and still want to lift, run, or just stand up without wincing. It uses two pieces of gear, in a specific order, with specific time on task. It is boring. Boring is what works.
If you want the short version: release the tissue that is short, support the position you cannot hold yet, and train the muscles that will eventually make the support unnecessary. Everything else is marketing.
Why you should trust me
I am a physical therapist in Minneapolis, 12 years in, and roughly half of that was spent in a clinic treating backs that "just hurt" and legs that "won't loosen up." I prescribe foam rolling and percussion the way a doctor prescribes medication: specific tool, specific dose, specific reason. If you cannot tell me what you are rolling and why, we are not done with the assessment.
I keep a pressure gauge in my treatment room for the "it hurts so it's working" crowd, because that belief is the single most common cause of the setbacks I see. Pain during release work is a signal to back off, not a badge. If you are crying, you are not recovering, you are irritating tissue that was already unhappy.
How I picked what belongs in this routine
Two tools made the cut, and the filter was not price. It was three questions: does the tool address a real problem I see in the clinic, can a normal person use it without hurting themselves, and will it survive six months of actual use instead of living in a closet.
The first tool handles the hours you spend in a chair, which is where most postural complaints are built. The second handles the tissue that gets short and cranky as a result. Neither one is a cure. Both of them are force multipliers for the work you do with your own body.
I left out the long list of gadgets that show up in my inbox every month, not because they are all bad, but because a routine with seven tools is a routine nobody does. Consistency beats variety every single time. If you want the fuller picture of what is on the market, my breakdown of the best foam rollers covers firmness and density in more detail than this article needs.
The two tools worth owning
You do not need a wall of gear. You need one thing that reminds your body where neutral is, and one thing that helps tight tissue let go.
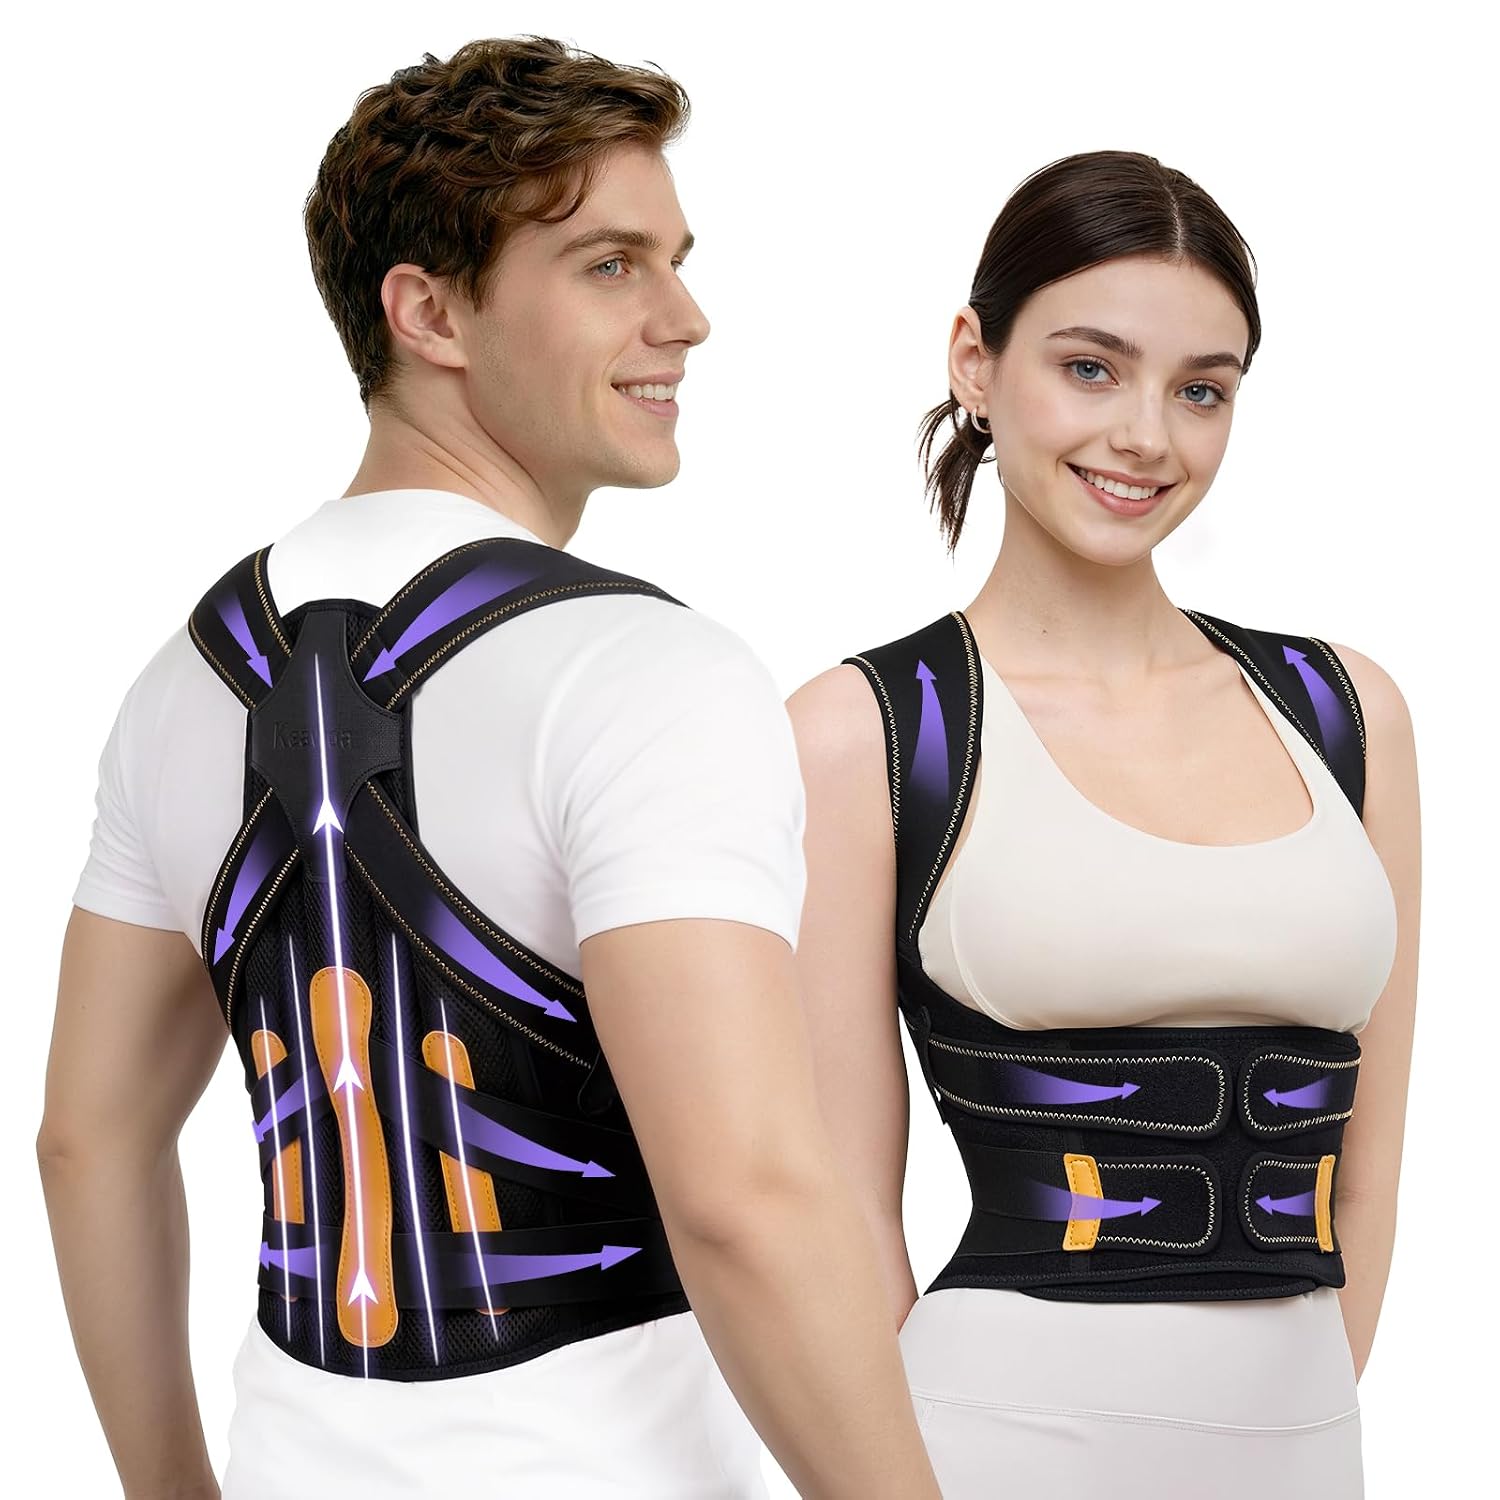
For the hours you sit: Posture Corrector for Women and Men, 5x Enhanced Support Back Brace, Large
 Visit on Amazon →
This is the piece most people get wrong, because they buy it expecting it to fix them and then wear it for ten hours a day. Used properly, a brace like this does one job: it pulls your shoulders back into a position your upper back cannot hold on its own yet, and it gives you a physical reminder of what neutral feels like. That reminder is the whole point. Your nervous system learns the position by feeling it, and then you have to build the strength to keep it without the straps.
The design here wraps across the upper back and over the shoulders with adjustable tension, which matters because the amount of pull you need on day one is not the amount you need on day twenty. Size is the other thing people fumble, and this listing runs in letter sizes rather than a single adjustable band, so measure your chest circumference before you order instead of guessing. A brace that is too small digs into the armpits and you will abandon it in a week.
Wear it in blocks. Twenty to thirty minutes while you are at the desk or driving is plenty to start, once or twice a day. Take it off for training, take it off to sleep, and take it off when you are doing your mobility work. A brace worn during exercise teaches your body to outsource the work.
Flaws but not dealbreakers: Any brace of this style is a reminder device, not a structural fix, and it will not survive being the only thing you do. If you wear it all day and never train your upper back, you will feel worse when you take it off, and that is a programming problem, not a product problem. Check current Amazon price before you commit.
Anyone who sits at a desk for six or more hours a day, or drives for a living, will get the most out of this.
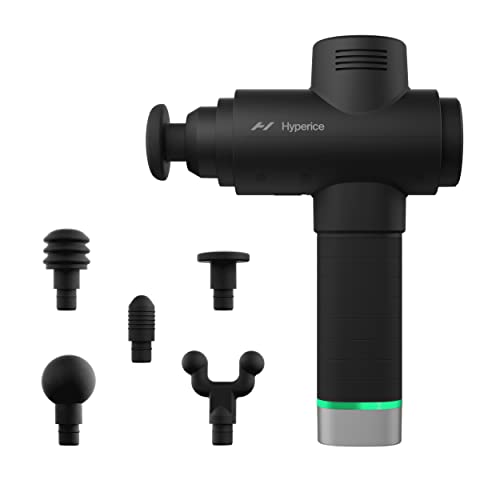
For the muscles doing the work: Hyperice Hypervolt 2 Pro Handheld Percussion Massage Gun Deep Muscle Tissue
 Visit on Amazon →
Percussion is the tool I reach for when a muscle group is tight and I want to cover ground fast. The Hypervolt 2 Pro is a handheld gun in the deep tissue class, which means it delivers rapid pulses into a muscle belly rather than the slow, broad pressure of a roller. Those are different jobs. A roller covers a large area and lets you control the load with your body weight. A gun gets into a specific spot, like the top of a shoulder or the meat of a quad, without you having to contort yourself onto the floor to reach it.
The reason this one belongs in a home routine rather than a closet is the form factor. A gun you can hold with one hand and reach your own upper back with is a gun you will actually use at 9 p.m. when your shoulders are up around your ears. Interchangeable heads matter more than people expect, because the round head is for big muscle bellies and the flatter or more pointed options are for getting around the shoulder blade without digging into the spine itself.
The rules for percussion are non-negotiable, and I will repeat them in the routine below because people keep ignoring them. Muscles only. Not bones, not joints, not your neck, and never your spine. If you can feel the pulse in your teeth, you are on the wrong structure.
Flaws but not dealbreakers: A gun is not a substitute for movement. It feels good immediately, which is exactly why people use it as their entire recovery plan and then wonder why the tightness returns by Tuesday. It is also the more expensive of the two tools here, so if budget is tight, the brace plus a firm roller covers most of the same ground. Check current Amazon price and compare it against how often you actually get on the floor.
Anyone with stubborn quads, calves, or upper back tissue who wants a tool they can use sitting on the couch should look here first.
The actual routine, step by step
This works whether you train or not. If you lift or run, do it around your sessions.
Step one: Find out what is actually short. Stand with your back against a wall, heels and head touching. If your shoulders cannot rest on the wall without effort, your upper back and chest are the target. If your low back arches hard to get there, your hip flexors are involved. Write down what you find, because this is your baseline.
Step two: Release first, for two minutes per muscle group. Use the gun on the chest, the top of the shoulders, the quads, and the calves. Two minutes per area, pressure that is uncomfortable but not painful. If you are holding your breath, back off. Breathe out into the pressure.
Step three: Stay off the spine and the neck. The gun does not go on your neck, your low back, or any bony point. Those structures are not built for percussion and I have seen the injuries. Muscle bellies only. If you are unsure whether something is muscle or bone, touch it with your hand first. If it is hard, skip it.
Step four: Put the brace on for your desk block. Twenty to thirty minutes, once or twice a day, while you are sitting. Set a timer. The brace is a reminder, not a lifestyle.
Step five: Do the strength work that makes the brace unnecessary. Three movements, three sets each, three times a week. Chin tucks, seated or standing rows with a band, and wall angels. This is the part that actually changes your posture over months. The brace buys you time. The strength work is the fix.
Step six: Take the brace off before you train. No exceptions. Your upper back needs to learn to hold position under load, and it cannot do that if a strap is doing the job.
Step seven: After training, gun the tissue that took the beating. Five minutes total, on the muscles you used hardest. This is where percussion shines, because it gets blood moving without asking you to get on the floor when your legs are already cooked.
Step eight: Run it for two weeks before you judge anything. Posture and tissue length change on the scale of weeks, not sessions. If you quit on day four because your shoulders still round forward, you were never going to see the result anyway.
The mistakes that undo the work
The first mistake is going too hard. More pressure is not more recovery. Tissue that gets beaten up needs to heal before it can adapt, and you have just added a second injury to manage. Two minutes at moderate pressure beats ten minutes of gritting your teeth.
The second is wearing the brace as a full time garment. It is a teaching tool with a dose, and the dose is short blocks. All day wear lets your postural muscles take a permanent vacation, and they get weaker, not stronger.
The third is using the gun on the neck or spine. I will keep saying it. Percussion on the cervical spine or directly over the vertebrae is how people end up in my clinic with a new problem on top of the old one.
The fourth is treating release as the whole routine. Rolling and percussion change how tissue feels. They do not build the capacity to hold a position. That comes from loading, and loading is the unglamorous part.
The fifth is buying gear to match an ambition instead of a routine. If you do not already get on the floor, a gun you can use on the couch is a better buy than a roller you will not touch. Buy for the routine you have.
What this all costs you
The money is the small part. What this routine actually costs is about 12 minutes a day: two minutes of release on the areas that are short, five minutes of percussion after training, 30 minutes of brace time that you spend sitting at a desk anyway, and three short strength sessions a week that take 10 minutes each.
Do the math on a year and it is roughly 70 hours of focused work, most of which overlaps with things you were already doing, like sitting at your desk. Compare that to the cost of a back that flares every time you pick up a suitcase, and the trade is not close.
The gear side is two purchases. Use the current Amazon price on each listing rather than whatever number a review from two years ago quoted, because both categories move. Neither tool needs replacing every year, which is the quiet advantage of buying one good brace and one good gun instead of four cheap versions of each.
The bottom line
Posture and muscle recovery are the same project. Release the tissue that is short, support the position you cannot hold yet, and train the muscles that will eventually make the support optional. Two tools, 12 minutes a day, two weeks before you judge the result.
That is the whole protocol. The hard part was never the gear.